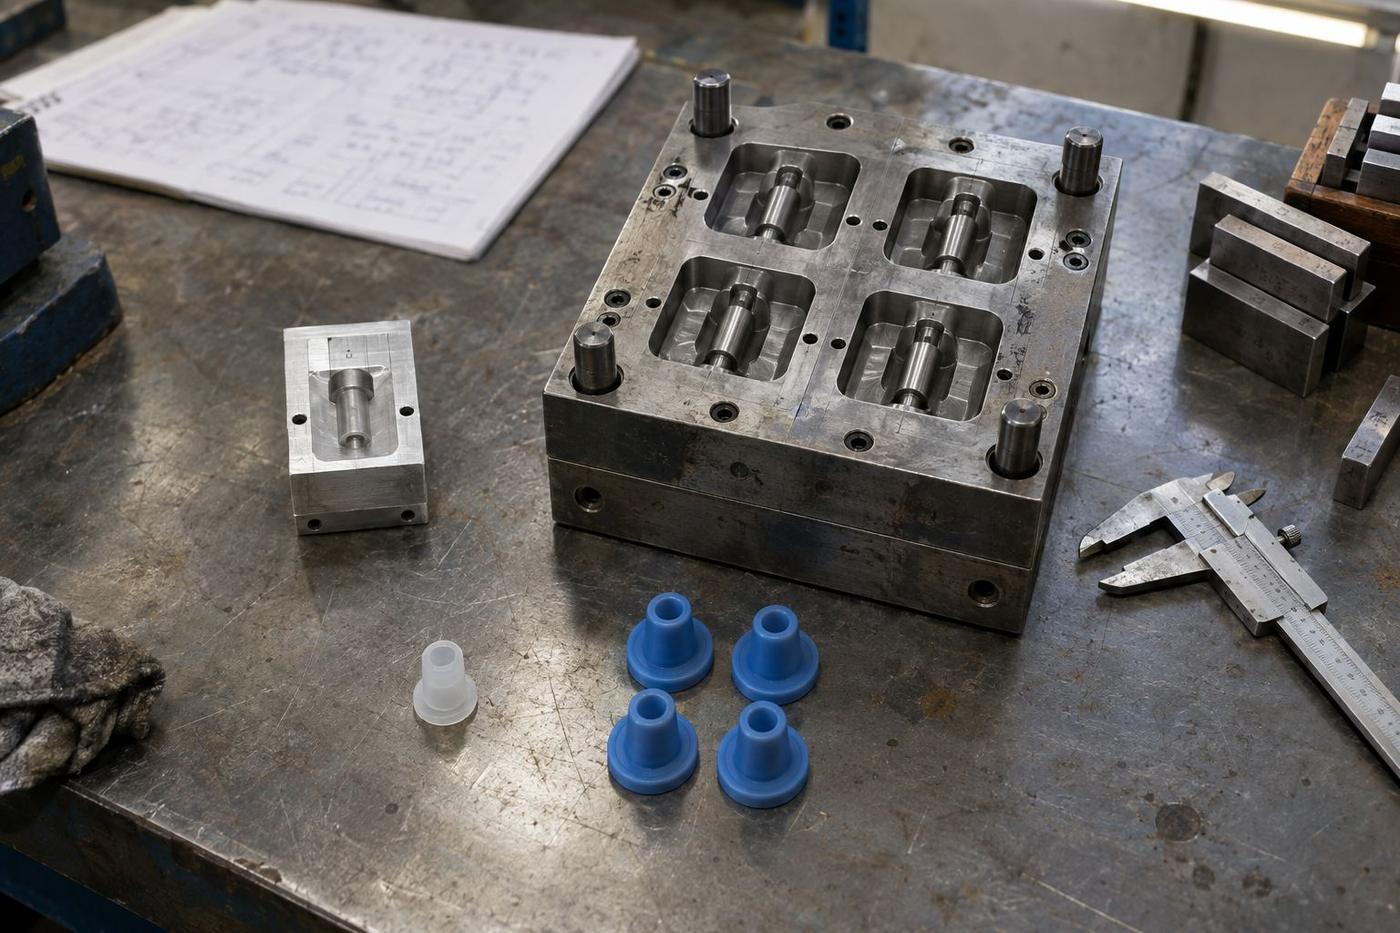
Design freeze confirmed in writing
The drawing to which the tool is cut is the last version you signed. Any changes go through a formal revision.
OEM programme guide
Your product is real. You've made prototypes, maybe pilot runs. The design is stable and the volume forecast is starting to be trustworthy. Now the question is: when do you move to production tooling, and how do you do it without breaking what already works?
The trigger
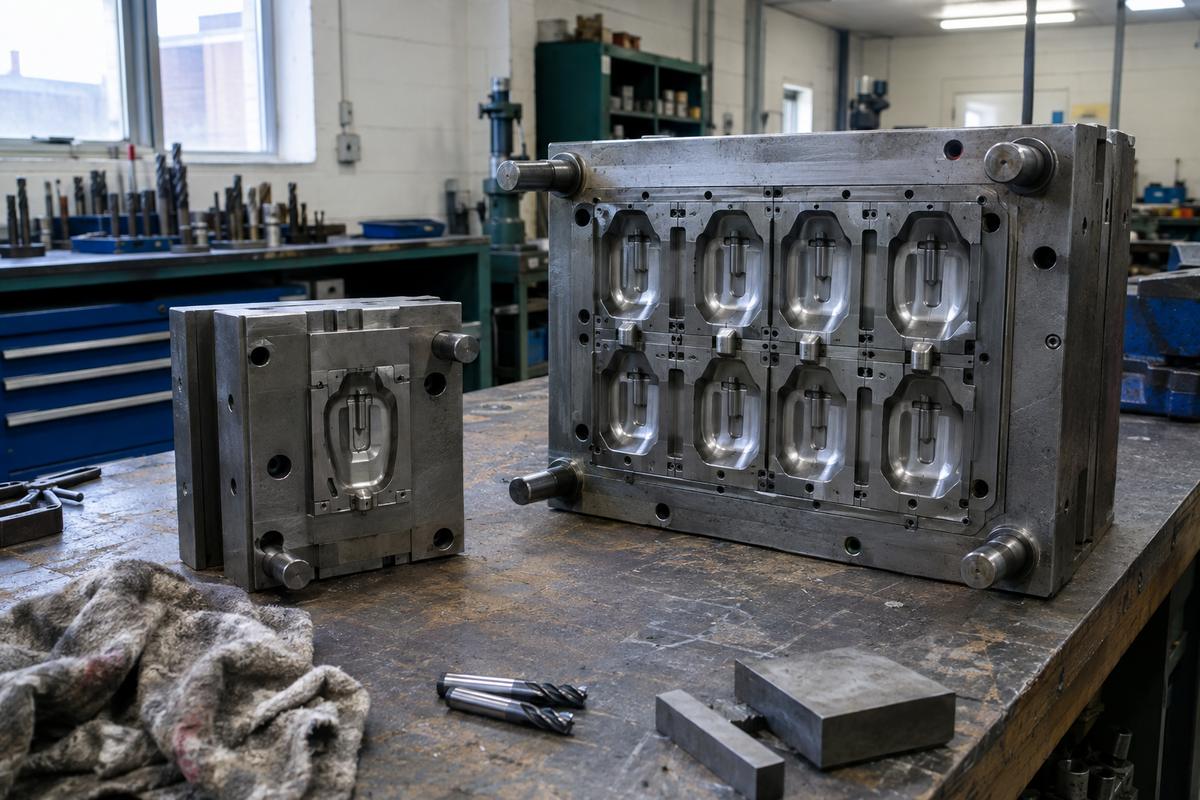
Prototype and bridge tooling is cheap to make and expensive to run. Every part off a prototype tool costs more in labour and material than the same part off production tooling. As volume grows, that gap becomes the entire economics of your programme.
The migration trigger is when the cost of tooling investment recovers within a reasonable payback period at your current volume. That's usually somewhere between 5,000 and 20,000 parts per year, depending on the part and the route. Below the threshold, prototype tooling is still right. Above it, production tooling is overdue.
The other trigger is design stability. If the design is still moving, production tooling is a mistake — you'll cut steel and then have to modify or replace it. Waiting until the design is frozen is usually worth a bit of extra time on prototype tooling.
For most OEM programmes we run, the migration happens in year two or three, after the first year has proved the product and the second year has stabilised the volume forecast.
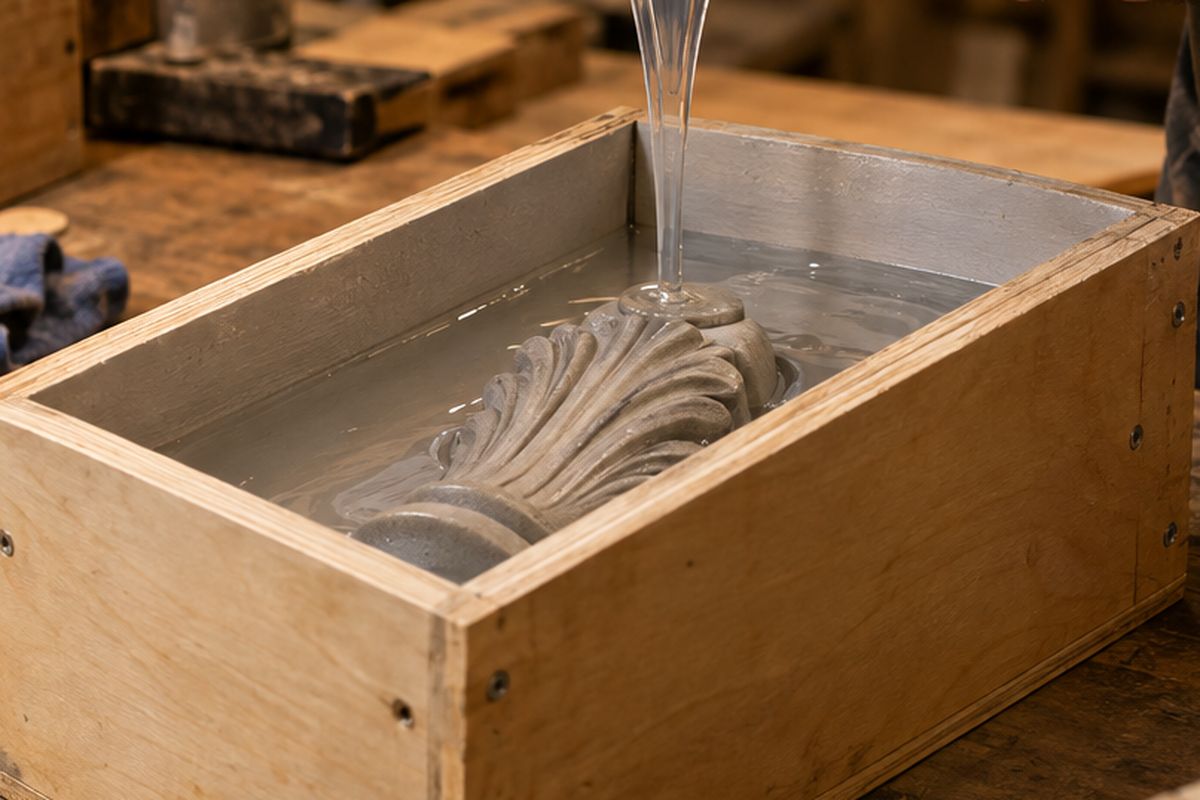
The process
Migration is a project, not an order. Planning it properly avoids scrapping prototype stock or interrupting supply.
Any change after this point costs more than it did in prototype. Freeze the design, sign off the drawing, don't allow changes until after first article approval.
Cavity count, cycle time, tooling investment, per-part cost at your volume. We provide the numbers; you decide whether the payback fits your commercial case.
Steel machined, cavity finished, tool assembled. Depending on complexity, several weeks. Prototype supply continues in parallel.
First parts from the production tool compared to the prototype parts and to the drawing. Any dimensional or cosmetic drift addressed before scaling up.
Production supply ramps up; prototype supply winds down. Typically overlap of one to three batches to avoid supply gap.
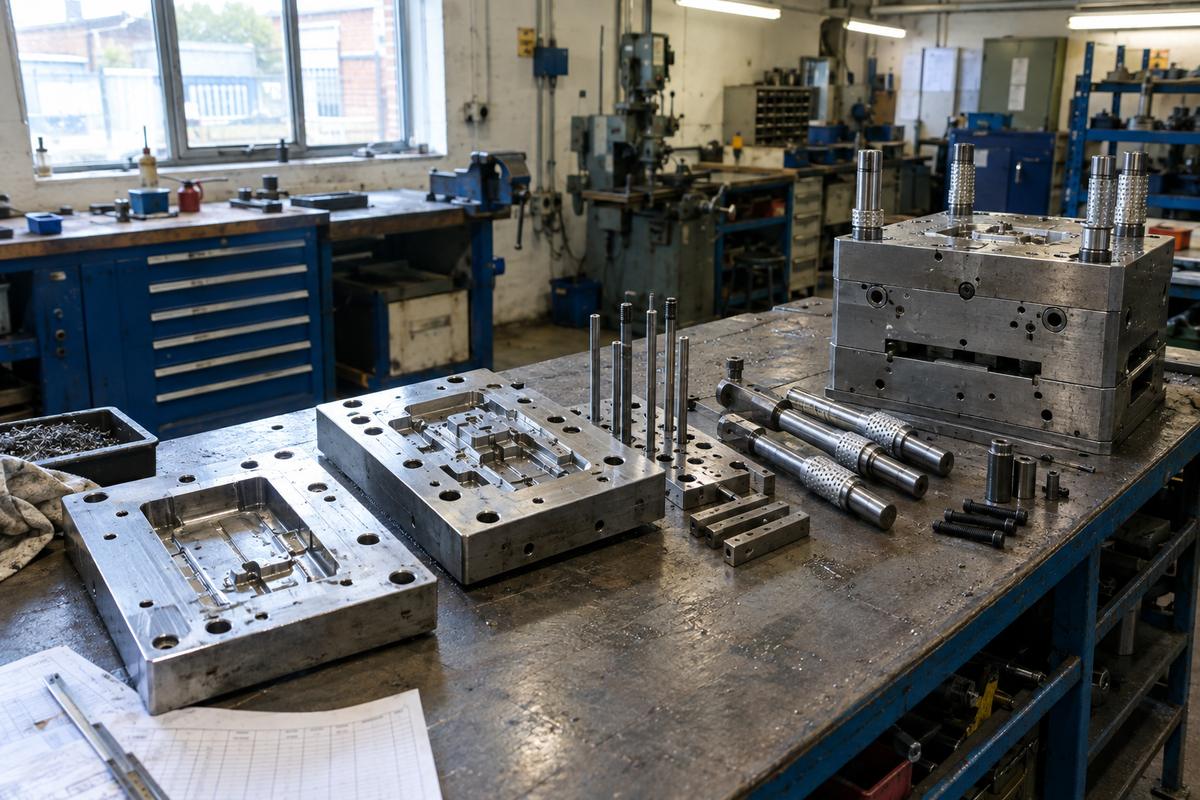
Managing expectations
Production tooling produces parts faster. Minimum sensible batch size goes up because setup and change-over is optimised for longer runs.
Prototype and production tools don't produce identical parts. Minor drift on non-critical dimensions is expected; critical dimensions are held to drawing.
Production tools are polished and finished more carefully than prototype tools. Cosmetic quality on visible faces usually goes up.
Watch-outs
These aren't rare. If any of them are happening to your programme, escalate before they become expensive.
Change requests during tool cutting cause rework or scrap. If the design isn't frozen, wait.
Cavity count sized for a forecast that never arrives. Tool sits underused; per-part cost never comes down to plan.
Ramp-up starts before the first production parts are compared to the reference. Any drift compounds through the first several batches.
Production tool has teething issues. Prototype supply has already been discontinued. Emergency reorders at emergency prices.
Our approach
The drawing to which the tool is cut is the last version you signed. Any changes go through a formal revision.
We show you the numbers before you commit. If the payback doesn't fit your commercial case, we say so.
Parallel supply until the production tool has proved itself over several batches. No forced cutover.
One engineer owns the migration from planning through first article. You have their direct line for questions.
Keep reading
Shore A is the number that appears on nearly every silicone drawing and is understood by almost nobody outside the rubber trade.…
Read the guideRubber moves. It shrinks as it cures, flexes when you measure it and relaxes in the bag. Specifying it like machined metal leads…
Read the guideMedical-grade is a phrase that gets used loosely. For device makers, what matters is the right grade for the contact, a…
Read the guideAt a glance
Which route suits your quantity
Swipe to see the whole diagram
From drawing to delivered parts
Swipe to see the whole diagram
Get in touch
Rough annual volume, target unit price, and any deadlines. That's enough to work out whether compression, LSR injection or something else is the right tool.
Real people, a real workshop
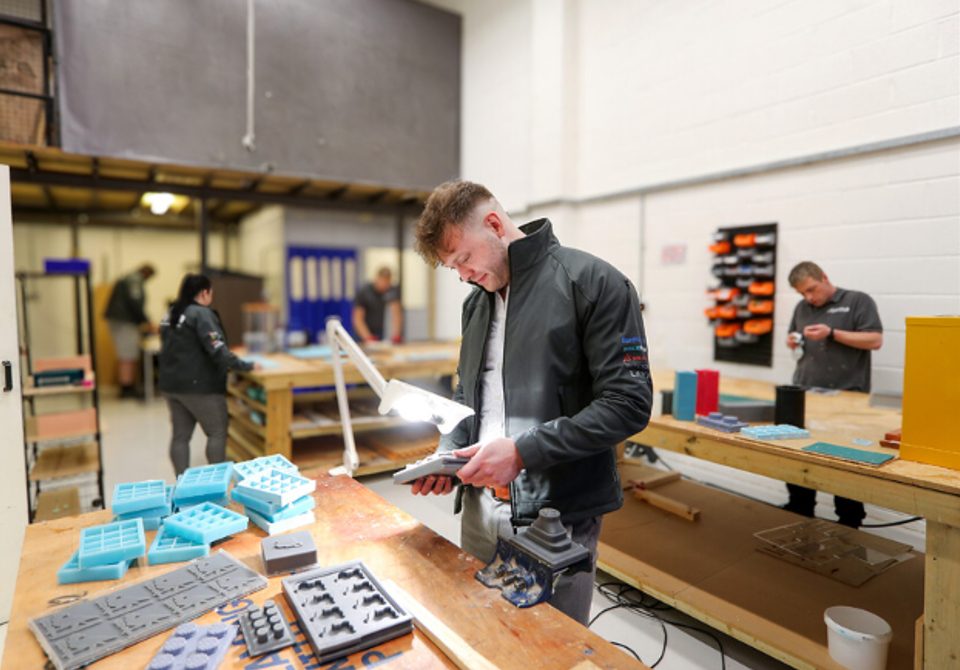
No call centre and no middlemen. When you contact TCI Products, you speak to the team who design, build and check your mould.


 Thomas LaneManaging Director
 George PrestonDesign & Project Manager
 Kelly BallingerHead of Partnerships
 Jim AndertonProduction Manager
 TheodoreEmployee Welfare