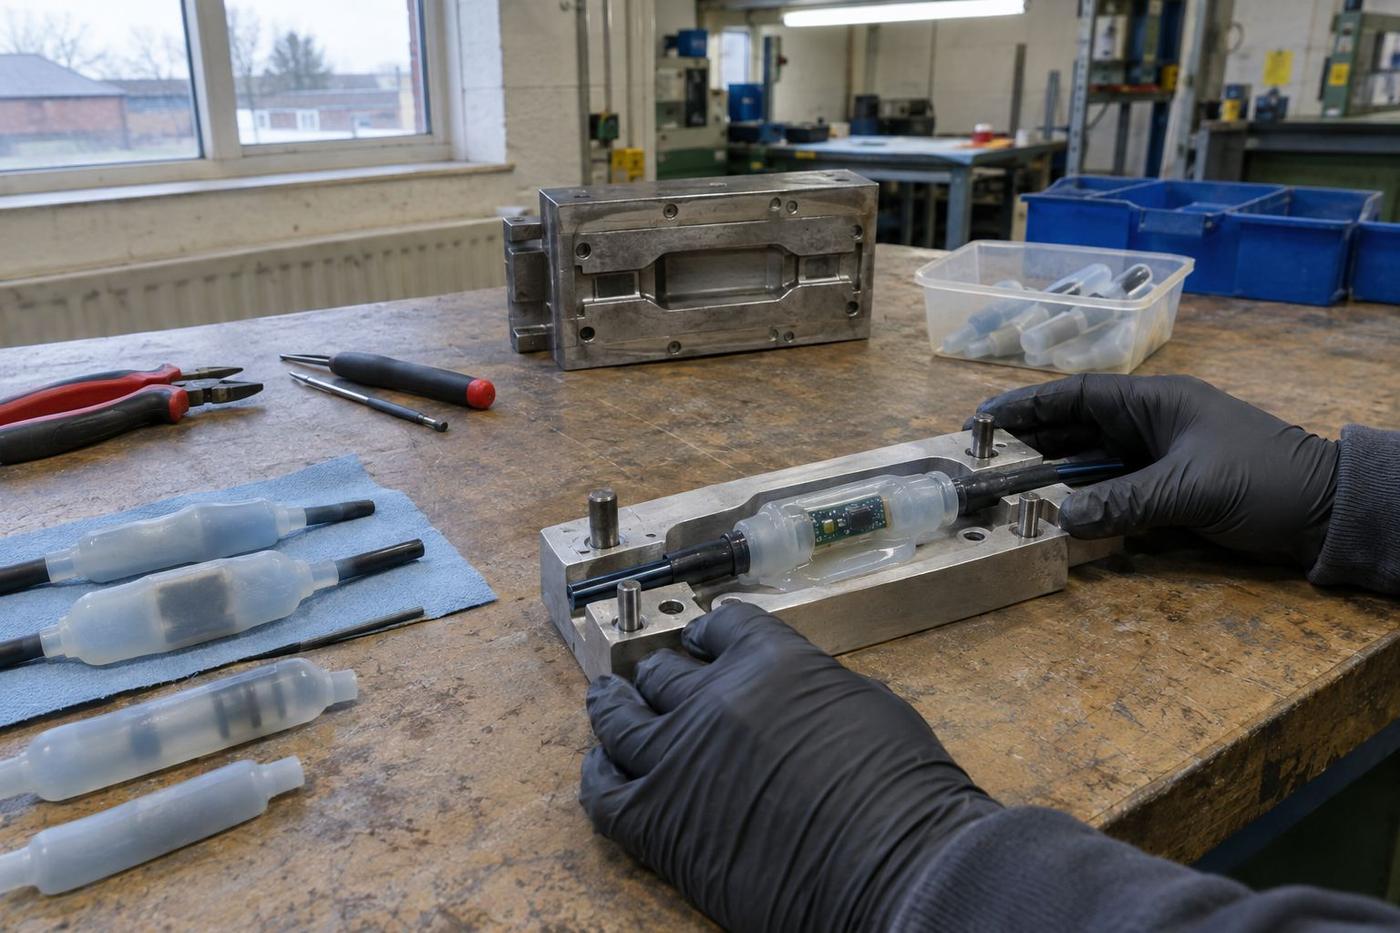
A sample assembly
Ideally a few, including some you're happy for us to break.
Sealed hardware · electronics in silicone
Wrapping a sensor, board or cable joint in silicone protects it from water, dust, vibration and hands. Done badly, it cracks solder joints or cooks components. Done carefully, it's the most robust seal you can give a small assembly.
The real challenge
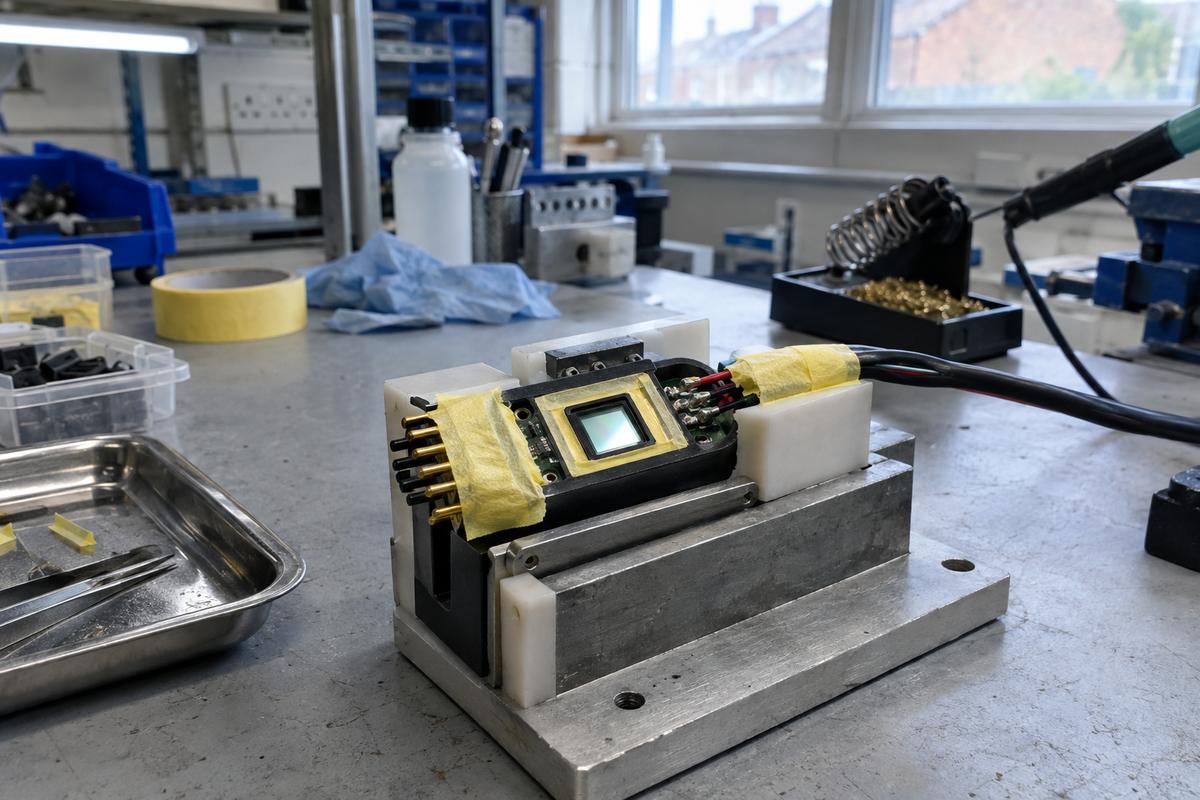
Most of the difficulty in encapsulation has nothing to do with the silicone. It's about what the moulding process does to the thing inside: heat from the tool, pressure from the injection, and movement as the material fills around delicate parts.
So the first conversation is about your hardware, not our press. What temperature can the components take, and for how long? Where are the fragile joints? Which surfaces must stay exposed — connectors, sensor windows, contacts?
From there we choose a route. Low-temperature curing grades, gentle fill paths, supports that hold the assembly still, and sometimes a two-stage approach where a soft first layer protects the parts before the outer shape is moulded.
Encapsulation sits close to overmoulding and electronics-grade manufacturing. The difference is that the part inside is live, fragile and usually expensive.
What we encapsulate
Temperature, pressure and proximity sensors sealed for washdown, outdoor or immersed use.
Compact PCBs and modules given a soft, sealed outer that also acts as the product's grip or housing.
Splices and breakout points sealed and strain-relieved in one moulded body. See cable and connector overmould.
How we approach it
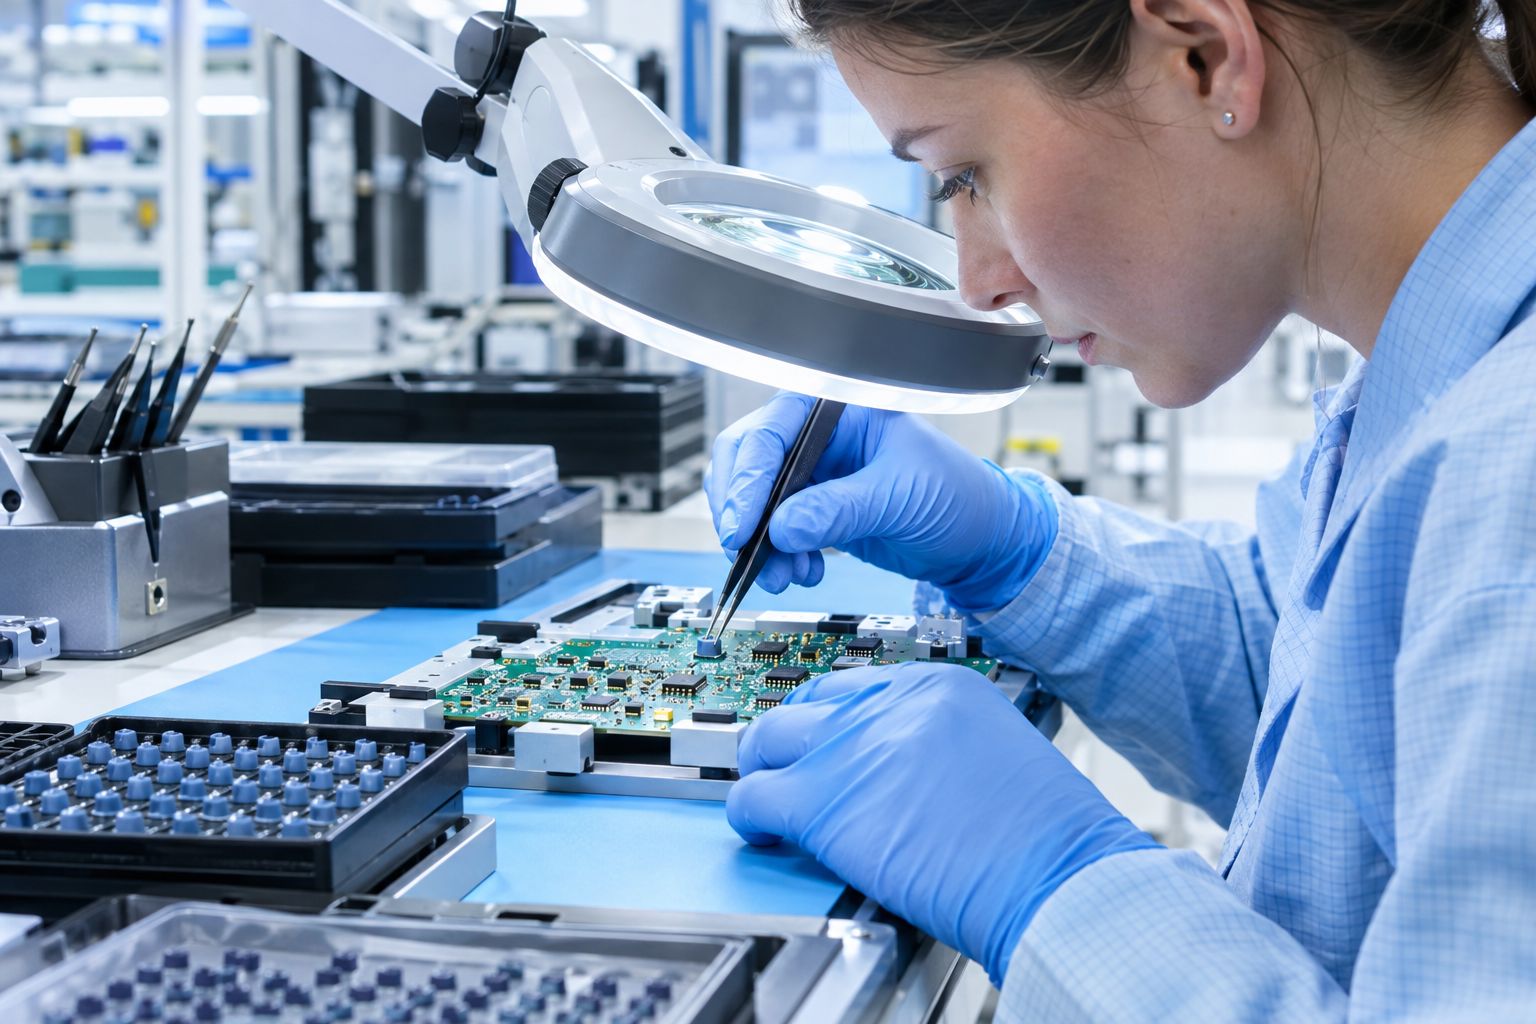
Every encapsulation job starts with sacrificial parts. We'd rather break a few in trials than one in your customer's hands.
We go through the assembly with your engineers: heat limits, pressure-sensitive areas, keep-out zones and test points.
Low-temperature or room-temperature curing silicone where the hardware demands it. Adhesion primers where a bond to the board or cable jacket matters.
The tool holds the assembly still and fills gently around it. Vents are placed so air doesn't get trapped against components.
Early shots use test assemblies. You power them up, run your functional tests and tell us what survived.
Once the process is proven, every batch includes the functional check you specify, recorded against the batch.
To quote it
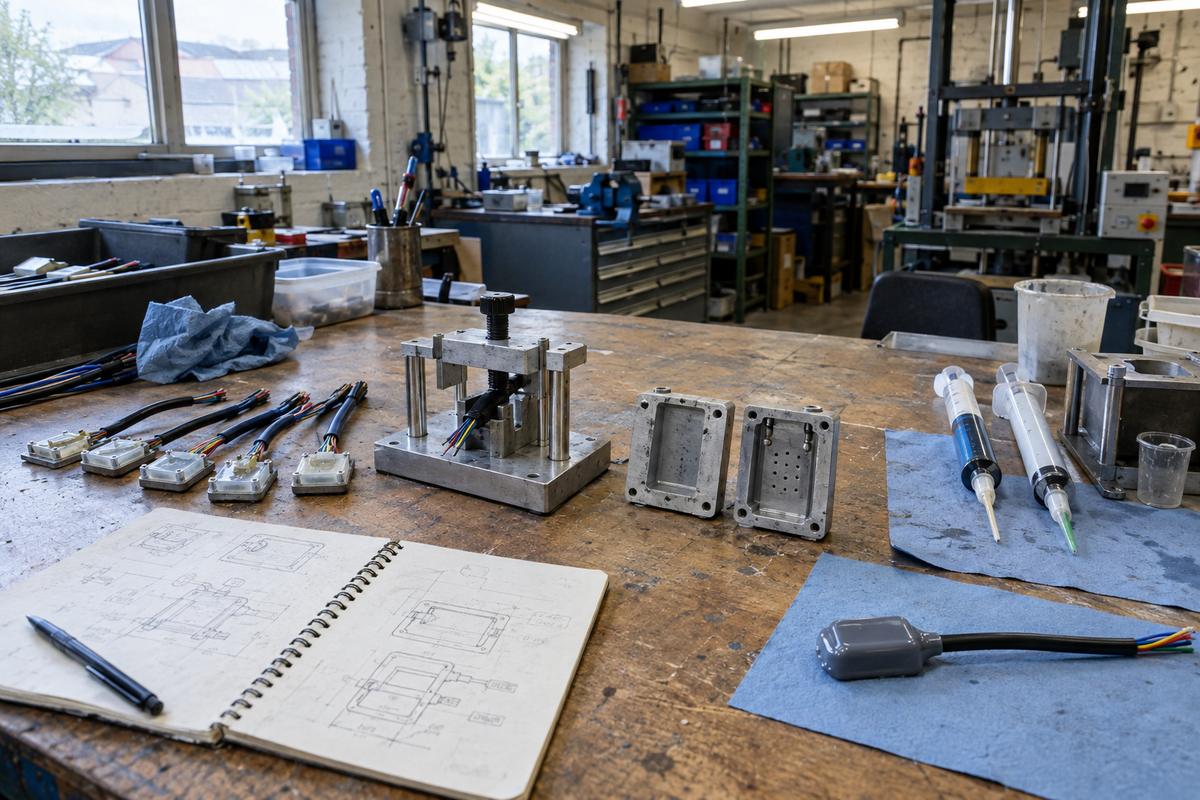
Ideally a few, including some you're happy for us to break.
From your component datasheets. These decide the grade and the process.
Connectors, windows, vents, labels — anything the silicone mustn't cover.
Your ingress, drop or functional test, so we can build the process around passing it.
Related routes
Silicone or rubber moulded directly onto a pre-made substrate — a plastic housing, a metal insert, a printed circuit assembly — so the finished part…
Read moreSilicone moulding for electronics OEMs — insulating gaskets, sealing membranes, keypad mats, connector boots, enclosure seals. Electronics-grade…
Read moreAt a glance
How overmoulding works
Swipe to see the whole diagram
From drawing to delivered parts
Swipe to see the whole diagram
Get in touch
Rough annual volume, target unit price, and any deadlines. That's enough to work out whether compression, LSR injection or something else is the right tool.
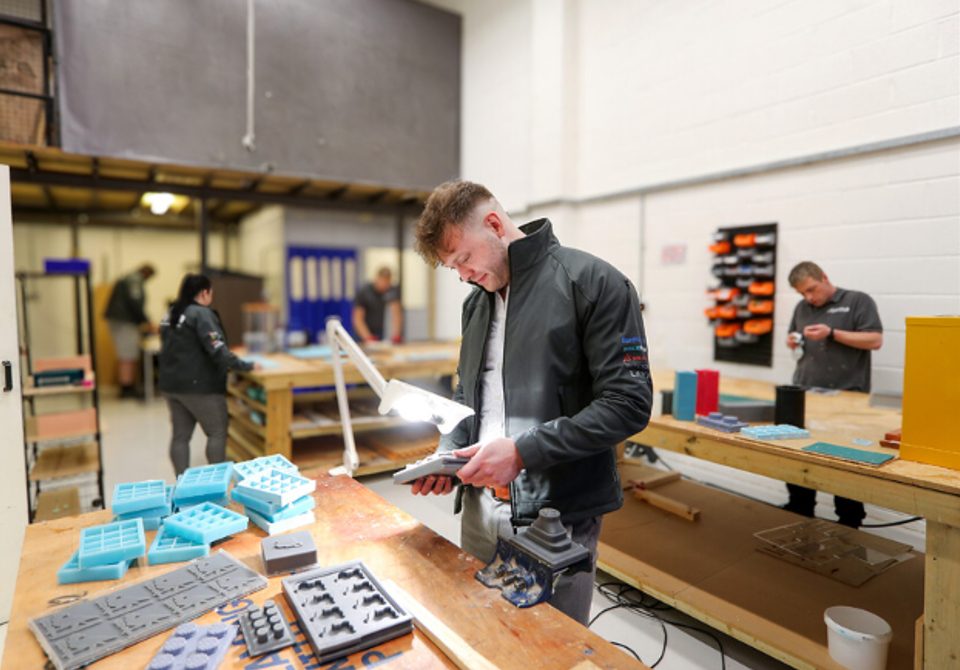
Real people, a real workshop
No call centre and no middlemen. When you contact TCI Products, you speak to the team who design, build and check your mould.


 Thomas LaneManaging Director
 George PrestonDesign & Project Manager
 Kelly BallingerHead of Partnerships
 Jim AndertonProduction Manager
 TheodoreEmployee Welfare